Thursday, June 15, 2023

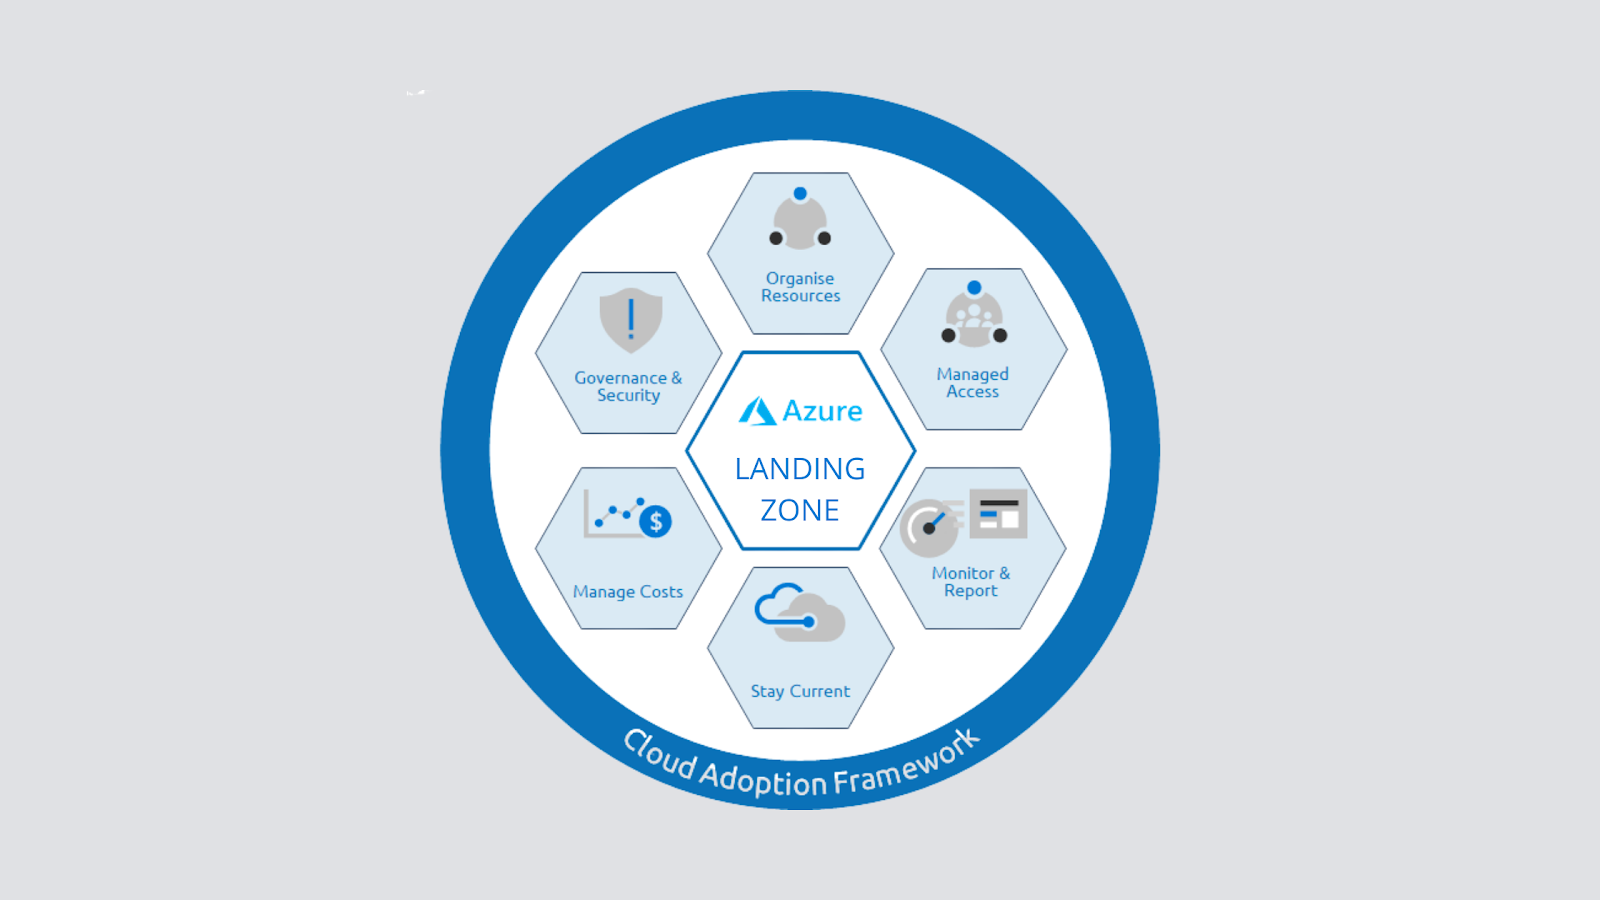
Azure landing zones

 Azure landing zones are a vast topic that we could write a book on in terms of their design, implementation, and how they are assessed. In simple terms, an Azure landing zone talks about subscription democratization, where we have multiple subscriptions meant for different types of workloads. Following this architecture will help you build an architecture that is responsible for scalability, security, governance, compliance, networking, and identity.

There are two types of landing zones:

•  Platform landing zones: A central team for several central teams is split by functions, such as networking, identity, and others. It will deploy subscriptions to deliver unified services. These subscriptions are used for various applications and workloads. Platform landing zones are usually used to consolidate certain essential services for better efficiency and ease of operations. Examples of these essential services include networking components (ExpressRoute, VPNs, firewalls, NVA, Bastion, and so on), identity (domain controllers, Azure Active Directory Domain Controllers, and so on), and management services (Automation Accounts, Log Analytics workspaces, Dashboards, Azure Monitor, and others).

•  Application landing zones: Unlike platform landing zones, in an application landing zone, we leverage management groups to segregate workloads. Here, we deploy one or more subscriptions for a workload or application. These will be placed under different management groups such as Online, Corp, SAP, and others. These management groups will be placed under a parent management group called Landing zone. This hierarchy helps us assign separate policies and access controls for our workloads. Application landing zones have been further subcategorized. Refer to this link to read more: https://learn.microsoft.com/en-us/azure/cloud-adoption-framework/ready/landing-zone/#platform-vs- application-landing-zones.

Microsoft has provided a conceptual architecture that organizations can leverage for building their landing zone. Again, this is conceptual and does not apply to all customers. Landing zone implementation can be customized as per your organizational requirements. Refer to https://learn.microsoft.com/en-us/azure/cloud-adoption-framework/ready/ landing-zone/tailoring-alz to understand how to create landing zones based on your requirements. Microsoft has developed this conceptual architecture based on customer feedback and field experiences, which is available at https://learn.microsoft.com/ en-us/azure/cloud-adoption-framework/ready/landing-zone/#azure- landing-zone-architecture.

If you feel that the conceptual architecture fits your organizational requirements, then you can use the Azure landing zone accelerator. With the help of well-defined templates from Microsoft, you can create the landing zone’s structure from the Azure portal. You can find the landing zone accelerator at https://learn.microsoft.com/en-us/azure/cloud-adop-tion-framework/ready/landing-zone/#azure-landing-zone-concep- tual-architecture.

Thant Zin Phyo@Cracky (MCT, MCE, MVP)

Monday, June 12, 2023

Multi-cloud capabilities in Microsoft Defender for Cloud

 As the new product name indicates, Microsoft Defender for Cloud is no longer an  Azure-focused security solution. It's rather a CSPM and CWPP for both, multi- and hybrid cloud environments. At Microsoft Ignite in November 2021, Microsoft announced its new API-based multi-cloud CSPM for AWS. As of now, you no longer need to enable AWS Security Hub in order to connect your resources to Defender for Cloud. By integrating AWS in the native Defender for Cloud experience, it is now very easy to connect your resources from there and get recommendations and visibility into their security posture in the same, unified experience. In addition, you can opt in to use Microsoft Defender for Servers and/or Defender for Containers on your AWS  resources, too.


Figure  – AWS connectors in Defender for Cloud's environment settings view

Once you have connected an AWS account to Defender for Cloud, assessments will start, based on the AWS CIS 1.2.0 and AWS Foundational Security Best Practices compliance standards. Recommendations for AWS resources will appear in the recommendations view, and they will also affect your secure score. You can even filter for recommendations that apply to your AWS resources by using the Environment filter in the recommendations view. Just make sure you select AWS (preview) only, as shown in Figure :


Figure – Filter for recommendations that apply to your AWS resources

For hybrid and multi-cloud machines (VMs, on-premises servers, and so on), Defender for Cloud leverages Azure Arc for making non-Azure resources Azure-like. Once  a machine has been onboarded to Azure Arc, Defender for Cloud can use Azure-native capabilities to install agents, manage settings, and much more besides. From a Defender for Cloud perspective, it makes no difference if the machine is natively running on Azure, or if it has just been connected. All agents that are used within the scope of Defender for Cloud can be installed as Arc extensions, and so Defender for Servers, Containers, and SQL on machines can treat these machines as if they were part of the Azure environment. 

Thant Zin Phyo@Cracky (MCT, MCE, MVP)

Saturday, June 10, 2023

Just-in-time VM access

 Just-in-time access for Azure VM is used to block inbound traffic to VMs until specific traffic is temporarily allowed. This reduces their exposure to attacks by narrowing down the surface and enabling access. Enabling Just In Time (JIT) will block inbound traffic on all ports that are usually used for management, such as RDP, SSH, or WinRM. The user must explicitly request access, which will be granted for a period of time, but only for a known IP address. This approach is the same as is used with Privileged Identity Management (PIM), where having rights doesn't necessarily mean that we can use them all the time; we have to activate/request for them to be used for a period of time.

Important Note : JIT access for Azure VMs supports only VMs deployed through Azure Resource Manager (ARM). It's not available for non-Azure VMs or legacy Azure VMs deployed through Azure Service Management (ASM).

JIT can be configured from the Defender for Cloud blade, or from the Azure VM blade. Configuring JIT for an Azure VM requires a few parameters to be defined, such as which ports we want to use, whether we want to allow access from a specific IP address or range in the Classless Inter-Domain Routing (CIDR) format, and the maximum period of time for which access will be available.

An example of configuring JIT is shown in the following screenshot:


Figure – Configuring JIT access

By default, you have the most common management ports available. You can edit rules for these ports, and delete or add custom rules. Besides ports, we can change protocols, the allowed source, and the maximum request time (this can be between 1 and 24 hours). Once JIT is configured, access needs to be requested each time we want to access the VM. This, again, can be done from the Defender for Cloud blade or the Azure VM blade. While you are requesting, you can ask for a specific (or more than one) port to be opened, state whether you want to enable access from your current IP address or from an IP range that's been pre-defined by an administrator, and finally, you need to define the time range. The time range depends on the configuration. By default, the time ranges from 1 to 3 hours, but can be configured for up to 24 hours.

Requesting JIT access is shown in the following screenshot:


Figure – Requesting JIT access

JIT uses NSGs to control traffic that is allowed or blocked. When JIT is configured for an Azure VM, NSG rules are created to block access over configured ports. Ports that are not configured for JIT should be automatically blocked unless configured otherwise. When JIT access is requested, another NSG is temporarily created that will allow access on the requested port. The new NSG rule will have a higher priority and override the block rule to enable access. Once the requested time period expires, the allow rule will be deleted, and access will be blocked again.

Important Note : If JIT is in use, no NSG rules for management ports should be created manually. Azure Security Center should control these ports at all times. If you create rules manually, you may override JIT rules, or you may create a rule that will allow one of the management ports at all times and use JIT for the rest of the management ports. Both situations render JIT pointless.

Thant Zin Phyo@Cracky (MCT, MCE, MVP)


Monday, June 5, 2023

Cloud Security Posture Management with Defender for Cloud

 As you learned in the previous section, Cloud Security Posture Management (CSPM) is one of the two main pillars in Microsoft Defender for Cloud. CSPM is all about hardening your cloud resources and that is why Defender for Cloud will provide you with a large list of security recommendations to help you understand what is good and what can be improved in your resources' configuration. Secure score is the main Key Performance Indicator (KPI) when it comes to understanding how good (or bad) you have configured your resources. The idea of secure score is to show a percentage value based on fixed points that are given for remediating recommendations that are grouped in security controls, as shown in Figure 1.1:


Figure 1.1 – Secure score, security controls, and recommendations

Figure 1.1 shows an environment with a secure score of 48%. The higher this percentage value is, the better protected your resources are. Secure score is calculated based on the following formula:
In the preceding example, the calculation is as follows:
The maximum score is a fixed number, depending on the security controls that apply to your environment. In Figure 1.1, you see two security controls (Enable MFA and Secure management ports), which have a maximum score of 10 and 8. While Defender for Cloud has more than 200 recommendations, not all of them might apply to your environment. For example, in case you don't have any VMs in your Azure subscription, you won't see the Secure management ports control, and therefore might have  a maximum secure score of only 50 instead of 58.

Tip : The maximum secure score when writing this book is 58 based on the maximum score of all 15 security controls. This number might change slightly when Microsoft is adjusting the maximum score per control, or when adding new controls.

In order to increase your secure score, you need to make sure to remediate all recommendations in a particular security control that apply to a single resource. Let's take a closer look at the Secure management ports control in Figure 1.2:


Figure 1.2 – Secure score calculation per resource

The total number of resources in this example is seven VMs, two of which need to remediate the Management ports should be closed on your virtual machines recommendation, and four of which need to remediate the last recommendation. For the whole control, you see that four out of seven resources are unhealthy, which means that three out of seven VMs in this control's scope are already completely remediated (and therefore count toward this environment's secure score). The maximum score per resource is the maximum score per control divided by the number of resources within a control, using this formula:
In our scenario, the per-resource score is as follows:

The current score is calculated as follows:

Using the numbers from our scenario, the current score is as follows:
That's why Figure 1.2 shows a current score of 3.43.

Now that you know how secure score is calculated.

Thant Zin Phyo@Cracky (MCT, MCE, MVP)